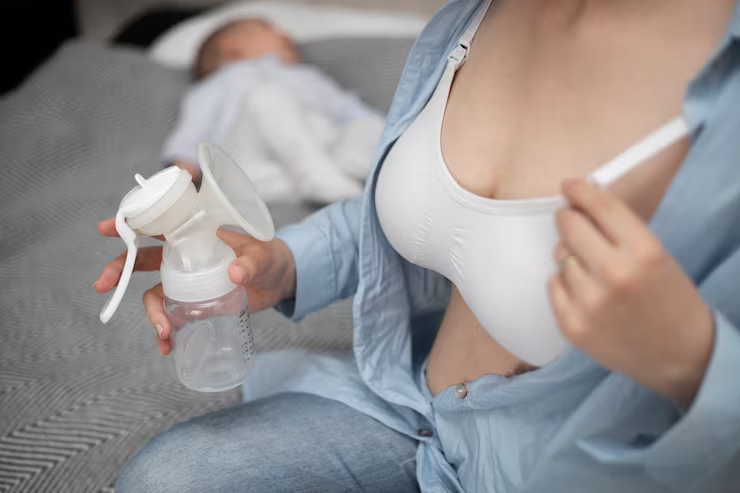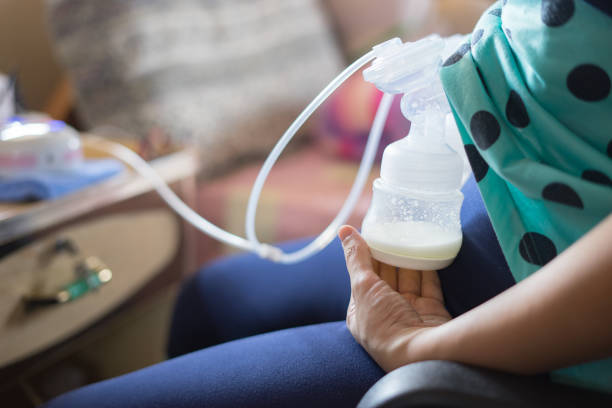
Setting up a pumping station in a tiny NYC apartment can feel like solving a puzzle. There may be no spare room, no nursery corner, no extra counter space, and no private office-style area where everything can stay out. The kitchen may already be full, the bedroom may be shared with the baby, and the living room may also function as a feeding area, recovery space, work corner, and family room. For many NYC moms, pumping is not only about milk expression. It is about making a repeatable routine inside a home where every inch matters.
The good news is that a pumping station does not need to be large or fancy. It needs to be clean, comfortable, organized, and easy to reset. A small apartment pumping station can be built from a rolling cart, a nightstand drawer, a basket, a shelf, a kitchen caddy, or a corner of a dresser. The best setup is the one a parent can actually use at 2 a.m., before work, after a commute, or while caring for a baby in the next room. Parents who are new to pumping can also review pumping and milk storage basics before deciding what supplies need a permanent place.
Start With the Smallest Reliable Setup
Many parents think a pumping station needs a full cart with every possible accessory. In a small NYC apartment, that can create more clutter than comfort. A better starting point is the smallest reliable setup: pump, clean parts, bottles or bags, labels, a marker, burp cloth or towel, water bottle, snack, phone charger, and a place to store expressed milk. If a parent pumps only occasionally, a basket may be enough. If pumping happens several times a day, a small rolling cart or dedicated shelf may be more useful.
The station should support the reason for pumping. A parent who pumps once in the morning to build a small supply may need less than an exclusive pumper. A working parent may need a station that connects to a cooler bag and work routine. A parent pumping because of latch problems may need the setup close to the feeding area. The station should match the feeding plan, not a social media photo of someone else’s home.
Choose the Right Location
In a tiny apartment, location matters more than decoration. The pumping spot should be near an outlet if the pump requires power, close to a comfortable seat, and reasonably close to a sink or fridge if possible. Some parents choose the bedroom because it is quieter. Others choose a kitchen corner because cleaning and storage are easier. Some choose the living room because that is where they spend the most time with the baby.
Privacy matters too, but privacy can look different in a small home. A folding screen, robe, nursing cover, or simply turning a chair toward a wall may help if other family members are nearby. The goal is not to create a perfect pumping room. The goal is to create a spot where the parent can sit comfortably, reach supplies, and pump without feeling like every session requires rebuilding the apartment.
Use a Rolling Cart Only If It Solves a Real Problem
Rolling carts are popular for pumping stations, and they can be very helpful. A small cart can hold pump parts, bottles, storage bags, snacks, towels, nipple cream if used, labels, and cleaning supplies. It can move from bedroom to living room and then tuck into a closet or corner. For NYC apartments, this flexibility can be useful because one room often has multiple purposes.
However, a cart is not required. If floor space is limited, a cart may become one more thing to bump into. A drawer, tote, shelf bin, or small basket may work better. Parents should choose storage based on the apartment’s layout. If a cart blocks a hallway, stroller space, or crib access, it may not be the best option. Minimal pumping storage is often more sustainable than a large setup that looks organized for one day and becomes clutter by the end of the week.
Keep Clean and Used Parts Clearly Separate
One of the most important parts of a pumping station is separating clean parts from used parts. In a small apartment, it is easy for pump pieces, bottle caps, valves, and storage containers to end up mixed together on the same counter. That can create stress and confusion, especially when pumping at night or while tired. A simple system can help: one clean bin and one used bin, or one clean drawer and one wash container.
The CDC recommends washing hands before expressing or handling breast milk and checking pump kits to make sure they are clean. Their official breast milk storage and preparation guidance also explains storage times and safe handling. Parents do not need a large space to follow safe habits. They need a clear system that prevents clean parts from being confused with parts that need washing.
Create a Tiny Cleaning Zone
Cleaning pump parts can become the hardest part of pumping in a small apartment. Some kitchens have very little counter space, and some parents share sinks with dishes, bottles, and cooking cleanup. A small wash basin used only for infant feeding and pumping items can help keep parts organized. A compact drying rack or clean towel can create a defined drying area without taking over the kitchen.
Parents should follow the pump manufacturer’s cleaning instructions. Some parts may be dishwasher-safe, while others need handwashing. Some parts need replacement over time. A tiny cleaning zone should include a bottle brush or pump-part brush, clean drying area, and a place for fully dry parts to go afterward. The system should be simple enough to repeat daily. If cleaning feels too complicated, the pumping station will quickly become stressful.
Plan Milk Storage Before the First Full Day
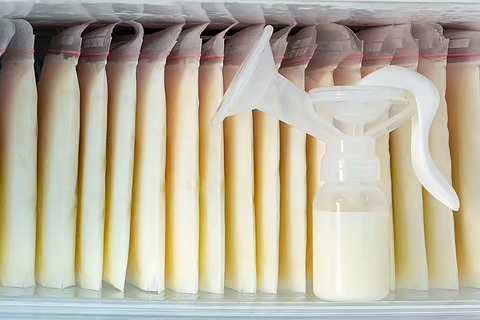
Milk storage is easier when the system is ready before the parent is holding freshly pumped milk and wondering what to do next. Parents need clean containers or storage bags, labels, a marker, and a dedicated area in the fridge or freezer. In a small NYC apartment, fridge and freezer space may already be limited, so organization matters. A narrow bin in the fridge can keep pumped milk together. A small freezer box or flat-freezing system can prevent bags from becoming a frozen pile.
The Office on Women’s Health explains that freshly pumped breast milk may be kept at room temperature for up to 4 hours, refrigerated for up to 4 days, and frozen if it will not be used within that time. Parents can review its official pumping and storing breastmilk guidance for details. Storage rules are easier to follow when milk has a clear home in the apartment.
Label Everything Immediately
Labeling may sound small, but it prevents confusion. Milk bags and bottles should be labeled with the date, and sometimes the time, especially if multiple pumping sessions happen in one day. If milk will go to daycare or another caregiver, the baby’s name may also be needed. A marker should live inside the pumping station so labeling does not depend on searching through kitchen drawers.
In tiny apartments, supplies disappear quickly because surfaces are shared. A marker may end up in a work bag, a kitchen drawer, or under mail. Keeping one marker clipped to the cart, bin, or storage bag box saves time. Parents can also keep a small roll of labels or masking tape nearby if they use bottles rather than bags. The simpler the labeling system, the more likely it is to happen every time.
Build Comfort Into the Station
A pumping station is not only a storage system. It is also a place where a parent may sit several times a day. Comfort matters. A supportive chair, small pillow, footrest, water bottle, and snack can make sessions feel less draining. If the parent needs to hold flanges in place, a hands-free pumping bra may help, as long as it does not press too tightly or cause poor flange alignment.
The pump should not hurt. If pumping feels painful, the parent may need to check flange size, suction level, nipple alignment, and pump part condition. Pumping can feel unusual, but sharp pain, rubbing, pinching, or nipple damage should not be ignored. Parents building a broader feeding plan can review breastfeeding basics alongside pumping guidance so pumping does not feel separate from the overall feeding picture.
Make the Station Quiet Enough for Let-Down
Let-down can be affected by stress, privacy, and comfort. NYC apartments are not always quiet. There may be street noise, neighbors, older siblings, pets, partners working from home, or construction outside. Parents may not be able to remove every distraction, but they can create small cues that help the body settle. This might include dim lighting, headphones, a baby photo, a soft blanket, a warm drink, or a short breathing routine before pumping.
Some parents find that covering the bottles helps them stop watching every drop. Others prefer tracking output carefully. Both approaches can work depending on the goal. If watching the bottles increases anxiety, covering them with socks or a small cloth may make pumping easier. The station should support the parent’s emotional comfort, not just hold supplies.
Use Vertical Storage
Vertical storage is a small-apartment advantage. A wall shelf, over-door organizer, hanging basket, or stacked bin can hold supplies without using floor space. Pumping supplies are often small but numerous: valves, membranes, flanges, caps, bottles, bags, tubing, chargers, labels, and cleaning brushes. Without a system, they scatter quickly. Vertical storage keeps them visible and contained.
Parents should avoid storing clean pump parts in open areas where dust, cooking residue, or bathroom moisture may affect them. A closed bin or drawer is often better for clean pieces. Frequently used items can stay close, while backup supplies can go higher or farther away. The goal is not to display every item. The goal is to make each session easier to start and easier to reset.
Prepare a Night Pumping Version
Night pumping in a tiny apartment should be as simple as possible. If a parent needs to pump overnight, the station should include everything needed without turning on bright lights or waking the whole home. A dim lamp, water bottle, clean parts, storage containers, burp cloth, and a clear path to the fridge can make night sessions easier. If the pump is loud, placing it on a towel may reduce vibration noise.
Parents should also think through what happens after pumping. Will the milk go straight to the fridge? Will parts be rinsed now or placed in a used-parts container for proper cleaning later? What is safe and realistic depends on the family’s routine and guidance they follow. The point is to decide before the exhausted 3 a.m. session. Night pumping is easier when fewer decisions have to be made in the moment.
Make Room for a Work Pumping Routine
Many NYC parents pump at home because they are also planning to pump at work. That means the home station should connect smoothly to the work bag. A good setup may include a second set of pump parts if possible, a cooler, ice packs, milk labels, storage bags, and a checklist near the door. The CDC’s guidance on returning to your workplace while breastfeeding notes that parents may need to plan for a private non-bathroom space, milk storage, cleaning pump parts, and timing during the workday.
Families creating a longer routine can use working parent feeding plans to think through pumping schedules, caregiver bottles, and storage. In a tiny apartment, the work bag should not be packed from scratch every morning if that can be avoided. A small checklist or dedicated shelf near the station can prevent forgotten valves, bottles, chargers, or cooler packs.
Keep Backup Parts Small but Smart
Backup parts can save a pumping day, but too many supplies can crowd a small home. Parents may want an extra set of valves, membranes, bottle caps, and storage bags. If the pump uses a charger, keeping the charger in one consistent place matters. If the parent pumps often, a second set of flanges or bottles may reduce washing pressure. The key is to keep backups small, labeled, and easy to find.
A tiny apartment does not need a huge pumping inventory. It needs the parts most likely to break, wear out, or be forgotten. Parents should check the pump manual for replacement timelines because worn parts can affect suction and output. A small “backup” pouch can live in the pumping station or work bag. That is usually more useful than a drawer full of mixed parts no one can identify.
Do Not Let the Station Take Over the Home
Pumping can become emotionally heavy when supplies spread everywhere. Bottles in the sink, parts on the counter, bags in the freezer, cords near the couch, and drying racks beside dishes can make the apartment feel consumed by feeding. A good station should have a reset routine. After each session, milk is stored, parts go to the cleaning zone, clean supplies return to their bin, and the pump goes back to its spot.
The reset does not have to be perfect. New parent life is messy. But a predictable home for each item reduces the feeling of chaos. Parents can also review the feeding FAQ when they are trying to simplify common pumping and bottle questions. A small apartment pumping station works best when it is easy to tidy in two minutes.
Ask for Help When Pumping Becomes Too Much
Even the most organized station cannot solve every pumping challenge. If pumping is painful, output suddenly drops, the schedule feels impossible, or the parent feels emotionally overwhelmed, it is time to ask for help. A lactation consultant, pediatrician, OB provider, midwife, or WIC breastfeeding support staff may be able to help adjust the plan. NYC families can also review NYC Health’s official breastfeeding support services page for local support options.
Pumping should serve the family’s feeding goals, not take over the parent’s entire life. Some families pump occasionally. Some pump at work. Some exclusively pump. Some combine breastfeeding, pumping, bottle-feeding, and formula. The right plan is the one that keeps the baby fed and the parent supported. The station is only a tool. It should make the plan easier, not make the parent feel trapped.
The Bottom Line for Tiny NYC Apartments
An NYC pumping station does not need a separate room, a huge cart, or a perfect nursery setup. It needs a clean place for supplies, a comfortable seat, a simple milk storage system, clear separation between clean and used parts, and a reset routine that fits the apartment. A drawer, basket, cart, shelf, or corner can all work if the system is easy to repeat.
The best pumping station is the one that supports real life: small kitchens, shared bedrooms, noisy streets, work bags, late-night sessions, and limited fridge space. Parents should start small, keep supplies organized, label milk immediately, protect comfort, and ask for help when pumping becomes painful or overwhelming. In a tiny apartment, a well-planned pumping station can make feeding feel less scattered and more manageable, one session at a time.